Hi everyone,
Welcome to my post for the February Counterfeit Kit Challenge Members' Bog Hop! You probably found your way here from Tina's Scrap Corner - if not, you should pop back to the CKC Blog and start from the beginning, so you don't miss any of the fun! Next stop is Lesley, and if you get lost along the way, just pop back to CKC to check out the list.
Here's a little peek at what I'm going to show you today ...
As always, we had a choice of three challenges to inspire us to make a project using our February Counterfeit Kits. I decided to go for this one ...
3. Challenge #3 Ten minute speed challenge - You have TEN minutes to create something. No more. If it is not done in 10 minutes, you have to share what it looked like at that stage anyway.
Now, I'm not the fastest crafter on the block, so this is a BIG challenge for me, and just to make it even more challenging, I thought I would make a little video with my iPad and see if I can put it on YouTube and link it here, so you can watch me Craft Against The Clock!
So, this was two challenges in one for me - speed crafting AND my first YouTube video ... unfortunately, despite several hours of dogged perseverance, gallons of caffeine and lots of huffs and tantrums, editing videos for YouTube remains a mystery to me at the moment, so you may want to go off and make a cup of tea or something during the middle section - but I did prove that you can make the guts of this little Meandering Book in less than 10 minutes, and then you can spend as long as you like making it look gorgeous!
From my February Counterfeit Kit, I took a sheet of cardstock, a sheet of double-sided paper and my box of embellies. I also gathered up strong tape, 1" circle punch, scoring board, scissors, bone folder and guillotine.
I scored the cardstock into 3" squares ...
... then cut along the score lines, stopping at the intersecting lines as shown above ...
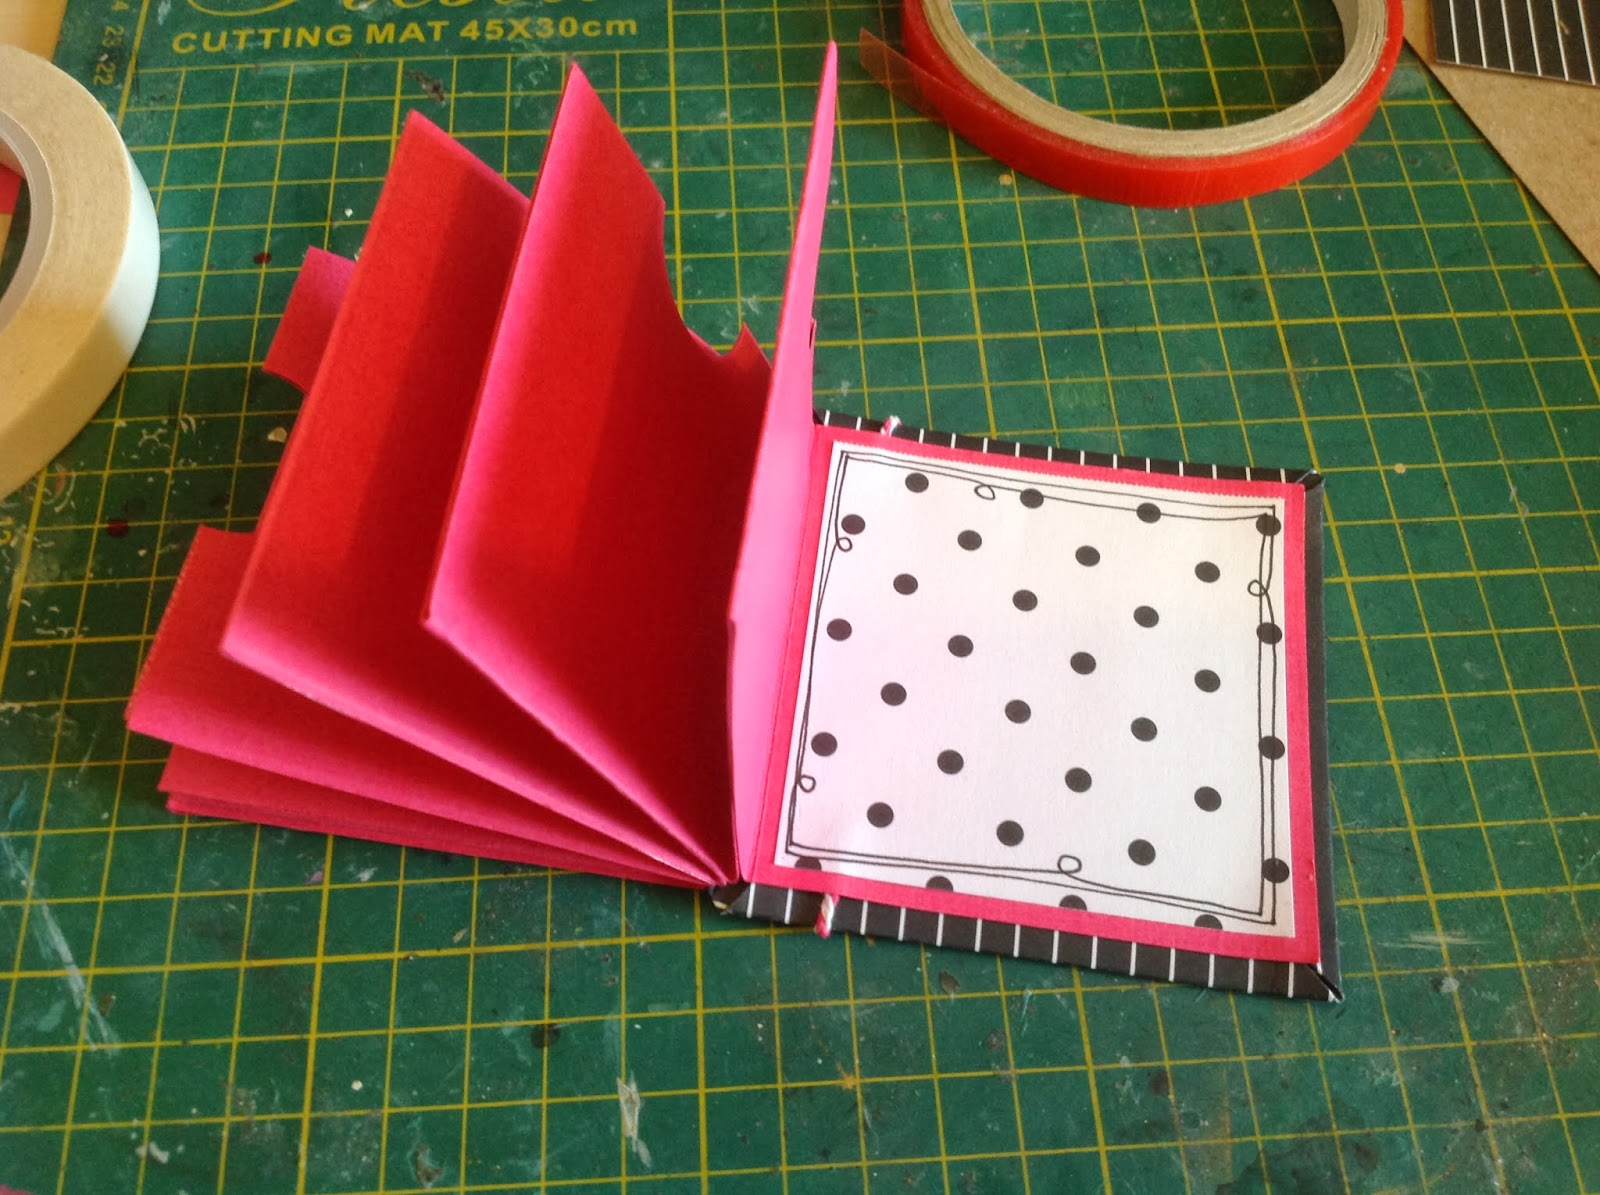
... then I started concertina folding, from the bottom left hand corner ...
... up to the top ...
... then down to the bottom ... up to the top ... meandering up and down ... until ...
... it looked like this!
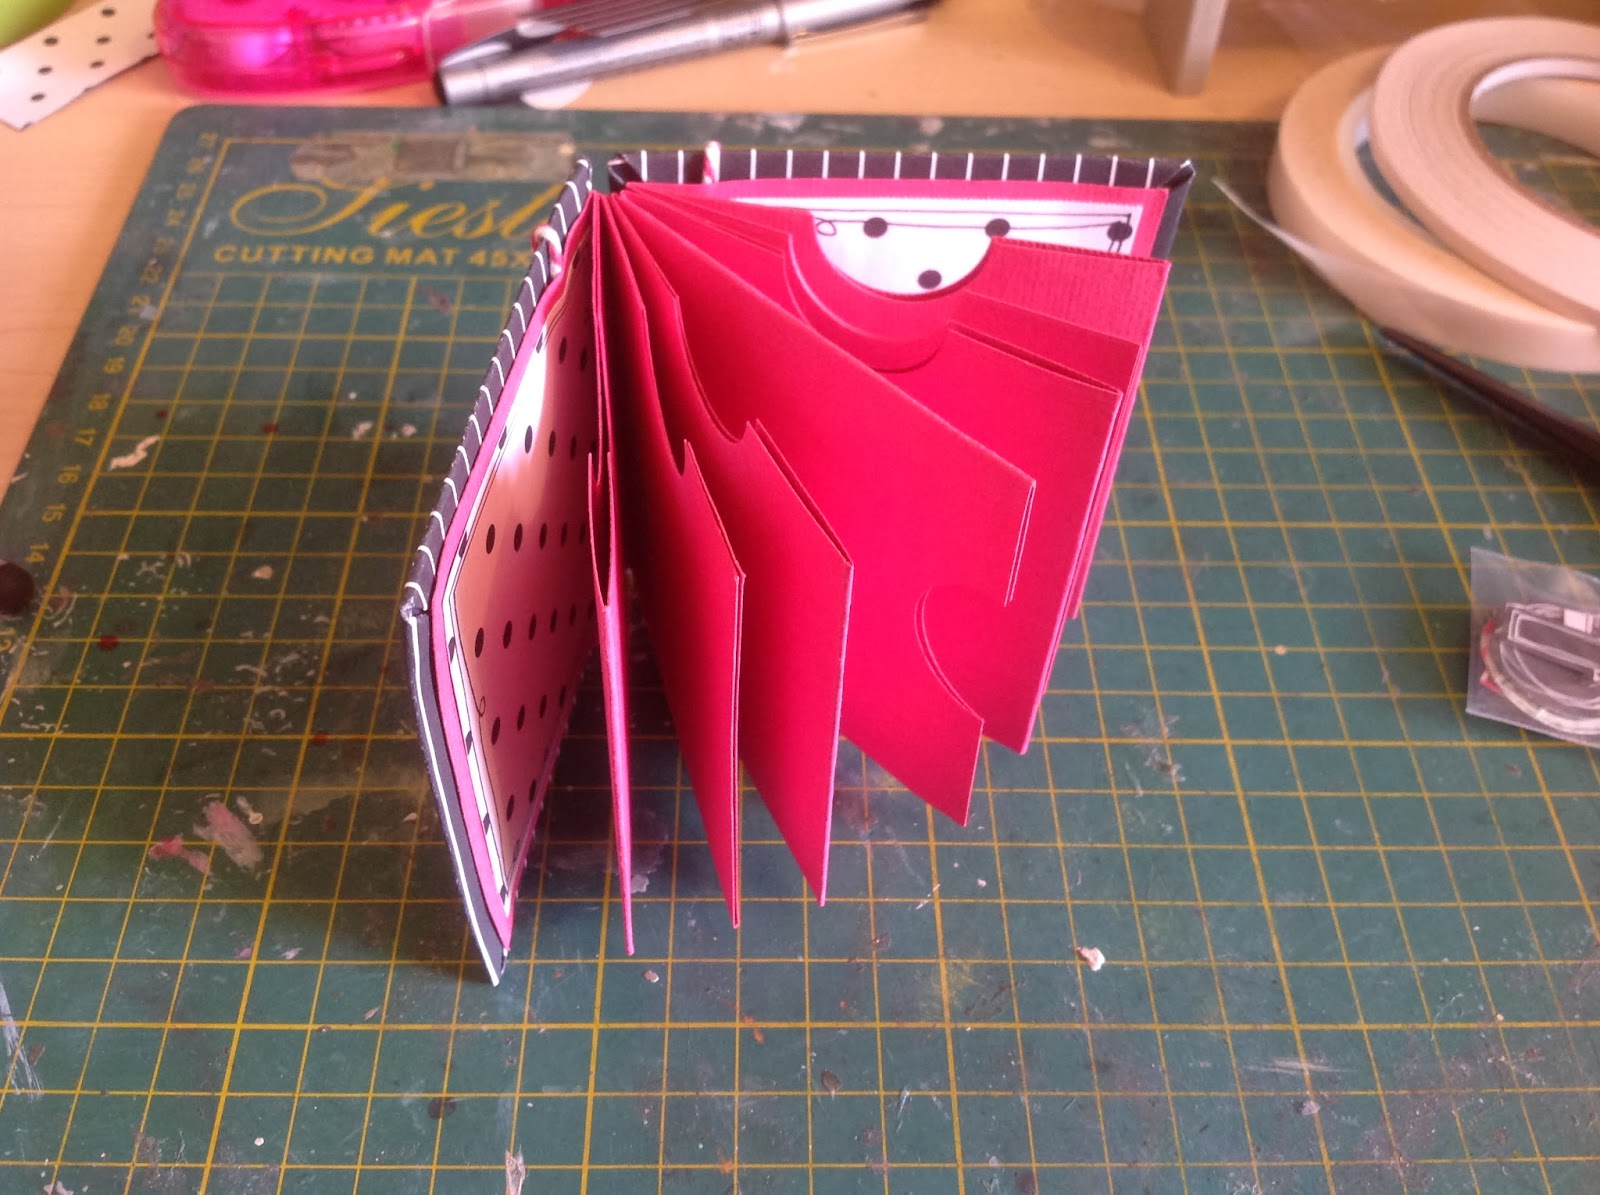
Skipping the front and back covers, I pinched the pages of my book together two at a time and used the circle punch to create "thumb holes" in the top of each pair of leaves ...
... these pairs were then taped together to form tag pockets ...
...and the thumb holes help me to remember which way is up during this process!
Then I cut two squares slightly smaller than 3" for the inside back and front covers ...
The front and back covers were made with squares of thick card cut slightly bigger than 3" and covered with some of the patterned paper.
This is the inside of the front cover about to go onto the guts of the book - the strong tape is a really good idea for this project, especially if it is going to be a gift.
A knotted piece of twine to give a bit of interest to the back cover.
I used a journaling pen to doodle around all the inside pages, as doodling is feature running through my Counterfeit Kit this month.
And there it is , all ready to be filled and garnished! I reckon you could get to this point in twenty minutes with a bit of practice.
... Then I cut some rectangles for tags, rounded the corners with my Crop-a-dile and doodled on them with black and white pens ..
... and added doodled file tabs from my DIY embellies ...
... and finally some Heidi Swapp stamps and Dymo labels.
A selection of stamps from Heidi Swapp, FrogDog Studio and Maya Road ready to titivate the inside of my book.
For the outside cover I made a little cluster of embellishments from my kit - some flowers, tiny heart buttons and home-made chippy hearts. One of the brilliant things about the Counterfeit Kit Challenge is that it gets me looking at my accumulated stash in a whole new way - apart from the little chipboard arrow from the MME Chalk Studio collection, which I put on the front of my book, everything else I've used in this project is stuff I've had FOREVER ... result!!!
Here are some pretty pictures of the finished project ...
The back cover, to which I added a little doodled heart ...
... and the inside, with all the pages and tags waiting to be filled with photos and stories.
I really did enjoy making this project and I hope you will have a go as well ... now, to save you scrolling for miles and miles back up to the top again, the next stop on the hop is Lesley
Thanks for coming - enjoy the rest of the hop and see you again soon! :o)xxx


Comments
Love your finished minis though ... especially the doodling.
Sweet book cover :~)